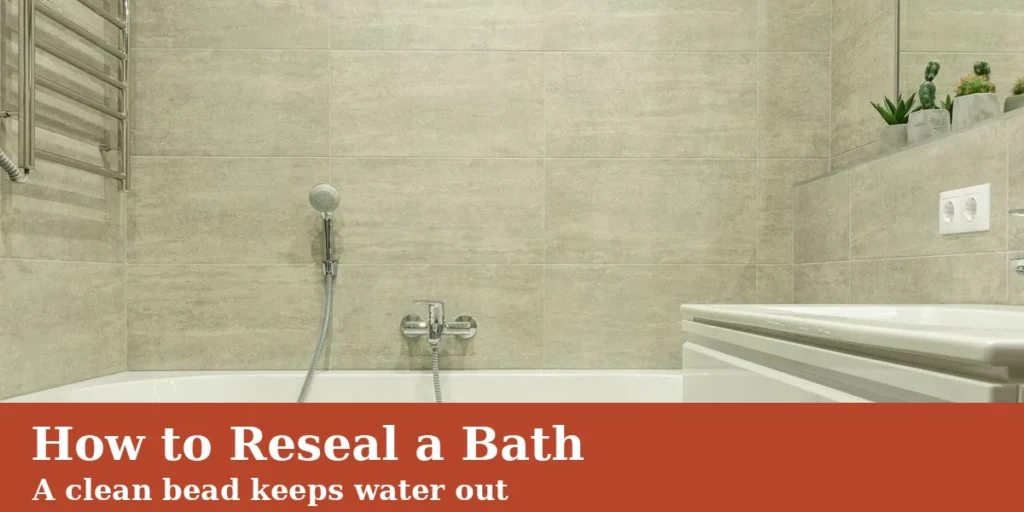
Knowing how to reseal a bath starts with stripping out the old silicone. Clean the joint, dry it fully, then lay one fresh bead. Use sanitary silicone, fill the bath with water, and tape both sides. Smooth the bead once, then leave it for 24 hours.
This guide shows how to reseal a bath with basic tools. It covers removal, cleaning, taping, the bead itself, and drying times. The same method seals a shower tray or a basin. Our budget home improvement ideas guide counts this among the cheapest bathroom fixes.
What Matters Most
- Learning how to reseal a bath starts with removal, not the new tube.
- New silicone never sticks to old silicone, dirt, or damp.
- Fill the bath with water before you seal the joint.
- Tape both edges, lay one steady bead, smooth it once.
- Keep the bath dry and unused for a full 24 hours.
Signs the Old Seal Has Failed
Black spots that scrubbing never shifts mean mould inside the silicone. The mould grows into the bead, not just on its surface. No cleaner reaches it, so resealing is the only fix. Wickes lists this as a clear sign the seal has failed.
Cracks, peeling edges, and gaps are the second warning. Water slips behind the bath each time the shower runs. It soaks the floor, the joists, and the ceiling below. A damp patch downstairs often starts at this joint.
Pooling water on the seal points the same way. The bead has flattened or split where it meets the tiles. Check the ends of the bath as well as the long edge. Corners fail first because the bath moves most there.
What You Need, and the Right Silicone
One tube of sanitary silicone seals a standard bath. Pick a mould-resistant bathroom sealant in white or clear. Sanitary silicone carries a fungicide that slows black mould returning. The Mira Showers guide insists on silicone, never grout.
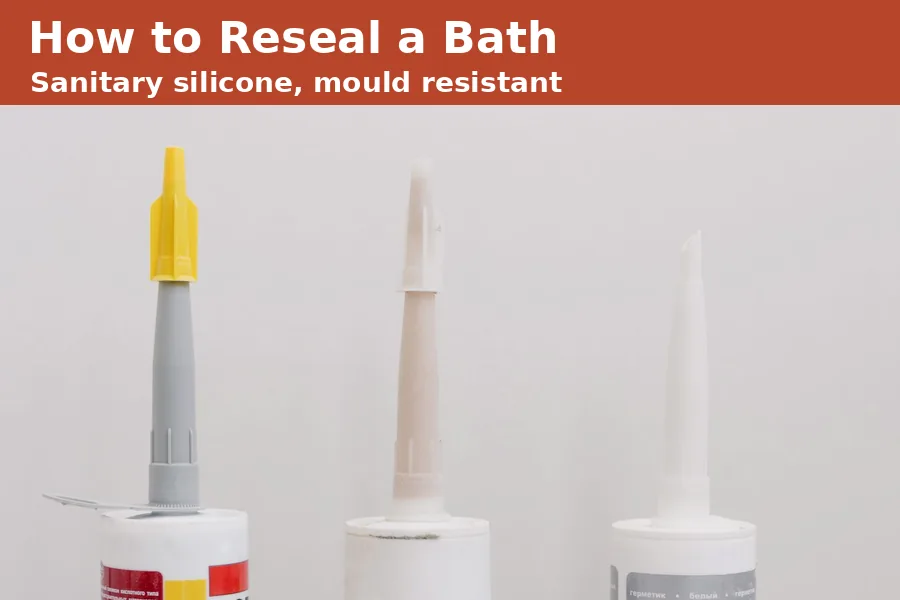
- Sealant gun to fit the cartridge
- Sealant remover and a removal tool or craft knife
- Mould remover if the old bead is black
- Masking tape and a smoothing tool
- Thick gloves, kitchen towel, and an old cloth
| Product | Best for | Watch out |
|---|---|---|
| Sanitary silicone | Bath and shower joints | Needs a fully dry joint |
| Mould-resistant sealant | Busy family bathrooms | Still needs wiping dry after use |
| Grout | Tiled walls only | Cracks if the bath moves |
Gloves matter more than most guides admit. Uncured silicone irritates skin and clings to everything it touches. Keep the bathroom window open while you work. The fumes are mild, but fresh air helps the cure.
Strip Out Every Trace of the Old Sealant
New silicone will not bond to old silicone. Leave even a thin film and the new bead peels within months. Removal is slow, dull work, and it decides the whole job. Give it the time it asks for.
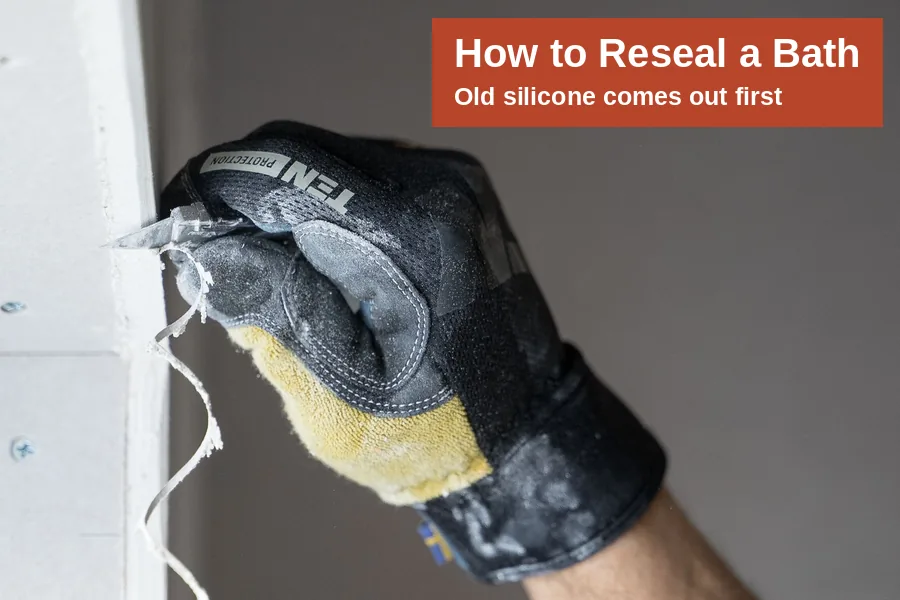
- Soften the bead with sealant remover, following the tube timings.
- Cut along both edges of the bead with the knife.
- Peel the strip away in the longest lengths you can.
- Scrape the residue gently, keeping the blade flat.
- Rub the last strands off with white spirit and cloth.
Work gently on acrylic baths and enamel. A slipped blade scores the surface and the scratch holds dirt forever. Plastic removal tools are slower but far kinder. Keep the knife for the corners only.
Clean the Joint, Dry It, Then Tape Both Sides
Wash the joint down once every scrap has gone. Mould remover treats any black staining left behind. Rinse it off and dry the gap with kitchen towel. Mira is blunt here: moisture stops sealant adhering properly.
Leave the joint to dry fully before you seal. Overnight is ideal, and a warm room speeds it up. Mira suggests tape about 3 millimetres from the wall. Add the second line on the tiles, level with it.
Run a dry finger along the joint before taping. Any greasy patch means the silicone will lift there later. Wipe it again with white spirit and let it flash off. Two extra minutes here saves a second strip-out.
Fill the Bath With Water Before You Seal
A full bath sits lower than an empty one. The water weight pulls it down on its frame or feet. Seal at that lower point and the bead stays relaxed. Wickes and Mira both put this step before the bead.
Seal an empty bath and the joint stretches later. The first full bath plus a person loads the seal hard. That stretch is what splits young silicone down the middle. Leave the water in until the seal has cured.
How to Reseal a Bath: Laying and Smoothing the Bead
Cut the nozzle at 45 degrees, near its tip. A small opening gives a bead near 6 millimetres wide. Load the cartridge and squeeze a test line on cardboard. Steady pressure matters more than speed here.
- Start at the far corner and work towards you.
- Push one continuous bead into the joint, no stopping.
- Fill corners with a slight pause, never a blob.
- Smooth the whole bead once with a wet tool, wiping it between lengths.
- Peel the tape away straight after smoothing.
- Wipe stray smears off with a silicone wipe at once.
One pass with the smoothing tool is enough. A second pass drags the edges and thins the middle. A finger dipped in water with washing-up liquid also works. That single pass is the whole trick of how to reseal a bath neatly.
How Long Before the Bath Is Back in Use?
Mira says sealant can take up to 24 hours to set. Wickes gives 24 to 48 hours for a full cure. Follow the cartridge label where the two differ. Warm, moving air cures silicone faster than cold still air.
Keep the water in the bath for that full day. Empty it only once the bead feels firm throughout. A shower over the bath counts as use, so wait. One rushed evening can undo the whole job.
Small Habits That Keep the New Seal Clean
Wipe the seal dry after baths and showers. Standing water feeds mould spores on any sealant, however good. Run the extractor fan or open the window after washing. Our condensation on windows guide covers bathroom moisture in full.
Expect to repeat this job every year or two. Wickes gives that lifespan for bathroom sealant in normal use. The same slow care lifts the tiles around the bath too. Our statement tiles bathroom ideas post shows the pairing.
Bathroom water jobs pair well together on one weekend. A dripping tap, for instance, takes the same basic tools and patience. More small fixes sit in our Home Improvement archive. Start with the seal, and the room stays dry.
Frequently Asked Questions
Can I put new sealant over old sealant?
No, new silicone will not stick to old silicone. The fresh bead skins over, then peels away in strips within months. Strip the old bead out fully, clean the joint, and let it dry. That slow first hour is what makes the new seal last.
How long does bath sealant take to dry?
Most bathroom sealant sets within 24 hours. Wickes allows 24 to 48 hours for a full cure. The cartridge label gives the exact figure for your product. Keep water off the bead, and leave the bath filled, until that time passes.
Why does my bath sealant keep going black?
Mould grows into silicone, feeding on soap film and standing water. Once the black spots sit inside the bead, scrubbing only cleans the surface. Resealing is the lasting fix, and mould-resistant sanitary silicone slows its return. Wiping the seal dry after use helps too.
Can I reseal a shower tray the same way?
Yes, the method is the same for a shower tray or a basin. Remove the old seal, clean and dry the joint, tape both sides, then lay one bead. Trays flex underfoot, so choose a flexible, mould-resistant product. Leave it a full day before showering.
What if water has already leaked behind the bath?
Dry the area fully before you reseal anything. Sealing over damp wood traps moisture and lets rot carry on unseen. If the floor feels soft, call a plumber or bathroom fitter. A bath that rocks on its feet needs the same help. That damage sits beyond a tube of sealant.
Do I need a sealant gun for this job?
A gun gives the steady pressure a clean bead needs. Cartridges are stiff to squeeze by hand, and the bead turns lumpy. Guns cost little and fit every standard cartridge size. Squeeze tubes exist for tiny repairs, but a bath run is too long.