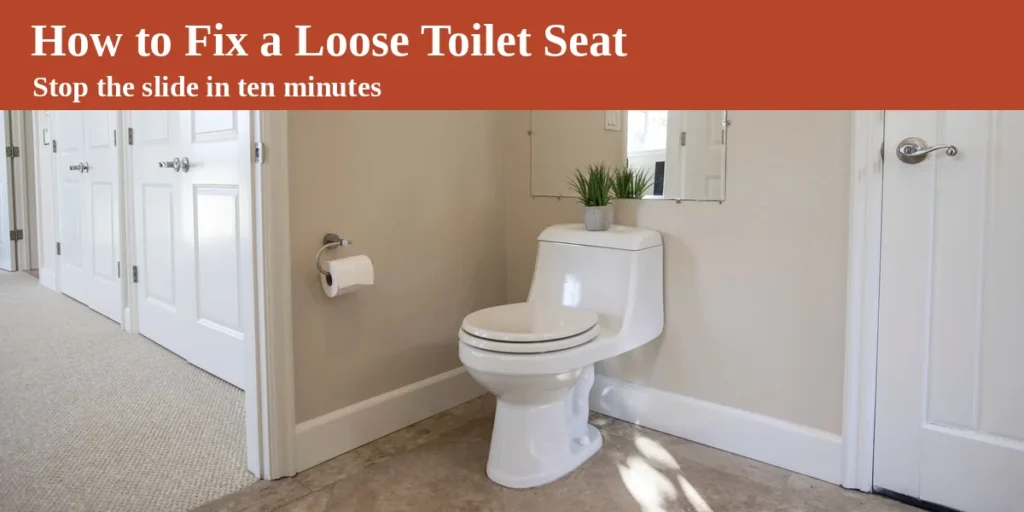
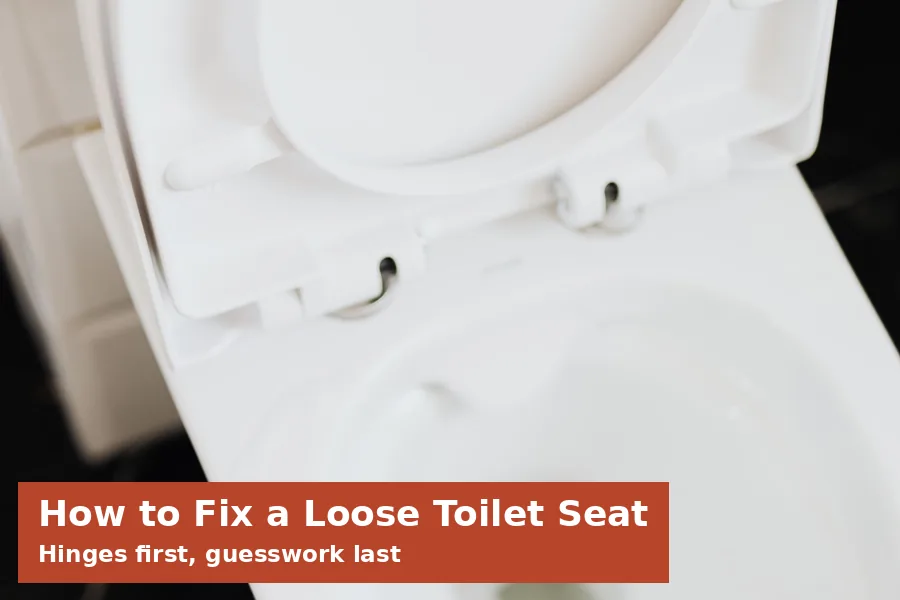
To fix a loose toilet seat, centre it flat on the pan first. Then tighten the two hinge fixings evenly, side by side. Top-fix seats tighten from above, under small hinge caps. Bottom-fix seats tighten from below, at nuts under the pan rim.
This guide shows how to fix a loose toilet seat safely. It covers all three fixing types found in UK homes. It also explains why seats slide again after tightening. Our budget home improvement ideas guide lists this among the quickest bathroom repairs.
Why the Seat Slides in the First Place
A wobbly toilet seat usually means loose hinge fixings. Daily use works the bolts loose a fraction at a time. The seat then shifts sideways each time someone sits down. The Victorian Plumbing guide starts with this same check.
Leaving it loose causes more than daily annoyance. A sliding seat can pinch skin and strain the hinges. Children and older people feel that sudden shift most. A firm seat is a small safety fix too.
Learning how to fix a loose toilet seat needs no plumbing skill. The fixings sit outside the pan and hold no water. Nothing here touches the cistern or the soil pipe. Confidence grows once the first cap lifts cleanly.
In Short
- Centre the seat flat before you tighten anything.
- Find your fixing type before you reach for tools.
- Tighten both sides evenly, a few turns each.
- Stop at snug, never force plastic bolts tight.
- Add rubber washers if the seat still slides.
Find Your Fixing Type Before You Start
Three fixing types cover nearly every UK toilet seat. Each type tightens in a different place and way. Guessing wastes time and can snap hidden parts. Two minutes of looking saves the whole job.
| Fixing type | What you see | Where you tighten |
|---|---|---|
| Top-fix | Caps on the hinges, no nuts below | From above, under the caps |
| Bottom-fix | Bolts through the pan, nuts underneath | From below, at the back rim |
| Quick release | Buttons beside the hinges | Seat off first, then the posts |
Look under the back rim of the pan first. Nuts there mean a bottom-fix seat, whatever caps suggest. No nuts below usually means top-fix or quick release. Press any hinge buttons gently to test them.
What You Need for This Small Job
Most homes already own every tool this job needs. A flathead and a Phillips screwdriver cover most fixings. Pliers or a small spanner grip a spinning nut. Gloves protect your hands from cleaners and grime.
- Flathead screwdriver for lifting hinge caps
- Phillips screwdriver to match your bolts
- Pliers or an adjustable spanner
- Rubber gloves and an old cloth
- Spare rubber washers, just in case
Clean around the hinges before you start work. Dirt hides the caps and the bolt heads. A quick wipe also shows any cracked plastic early. Stop and rethink if a hinge looks split.
How to Fix a Loose Toilet Seat From Above
Top-fix bolts hide under caps at the hinge backs. Lift each cap gently with the flathead screwdriver. Forcing a stiff cap can snap the plastic hinge. Ease it upward slowly, one side at a time.
- Centre the seat flat, with even gaps both sides.
- Tighten the left bolt a few turns only.
- Tighten the right bolt the same amount.
- Repeat, swapping sides, until both feel snug.
- Close the caps and test the seat firmly.
Hold the nut still if a bolt spins freely. Reach under the rim and grip it with pliers. Then turn the screw again from above. The bolt should bite once the nut stops turning.
Tightening Bottom-Fix Nuts Under the Pan
Bottom-fix seats tighten at nuts under the pan rim. Keep the seat centred flat while you work below. Turn each nut clockwise until it feels snug. A deep socket on a small ratchet helps here.
Work evenly, just like the top-fix method above. One side pulled tight alone drags the seat crooked. Check the gaps from above between each round. Sit on the closed lid to test it.
Plastic nuts and bolts need a gentle hand throughout. They strip or snap when forced past snug. Metal fixings forgive more, but porcelain does not. Overtightening steel bolts can crack the pan itself.
Quick Release Seats and Hidden Fixings
A quick release toilet seat lifts off for cleaning. Press the two hinge buttons and lift it straight up. Some seats need the buttons held in while lifting. The hidden fixings then sit exposed on the pan.
Lift the cover caps to reach the fixing screws. Tighten each screw until it feels firm, not locked. Clip the seat back on and centre it flat. Then remove it once more for the final tighten.
Soft-close seats use this design very often now. Never force a soft-close lid down by hand. Forcing it strains the hinge mechanism inside. Let the damper close the lid at its pace.
If the Seat Still Moves After Tightening
Tight bolts with a sliding seat mean spare play. The bolt holes leave room around each fixing bolt. The seat creeps sideways inside that extra space. Victorian Plumbing names this the usual repeat problem.
- Rubber washers fill the gap around bolts
- A fixing kit adds bushings that stop creep
- Worn plastic bolts lose their thread grip
- Cracked hinges flex even when fully tight
A toilet seat fixing kit solves the washer fix neatly. Loosen the nuts and slide washers onto the bolts. Refit loosely, centre the seat, then tighten evenly. That small rubber layer often ends the sliding completely.
This is the step that makes how to fix a loose toilet seat last. Tightening alone fights a gap it cannot close. Washers close that gap and grip the porcelain gently. The seat then stays where you centred it.
When Replacing the Seat Beats Repairing It
Some seats are past any tightening fix at all. Cracked seats and split hinges never hold firm. Deep stains that cleaning cannot shift count too. A replacement seat then saves repeated weekend repairs.
Knowing how to fix a loose toilet seat helps here too. The same checks reveal damage that tightening cannot solve. You stop early instead of forcing tired plastic further. That honest call saves the pan from harm.
Measure the old seat before you buy its replacement. UK pans are mostly round or oval in shape. Note the hinge spacing and the seat length. Our reseal a bath guide pairs well with this bathroom refresh.
Check the new seat shape against your pan carefully. A wrong shape overhangs or leaves gaps at edges. Keep the old fixings until the new seat fits. Shops exchange an unused seat more easily then.
A Steady Seat Makes the Whole Room Feel Right
Recheck the fixings a day or two after tightening. Newly tightened bolts can settle a little with use. After that, check them twice a year at most. Busy family bathrooms may need checks more often.
Pair this fix with other small bathroom wins nearby. A dripping tap takes similar tools and patience. Our condensation on windows guide tackles bathroom moisture too. More projects sit in our Home Improvement archive.
Sit down once more and feel the difference yourself. No slide, no clunk, no sideways surprise at night. That firm, quiet seat is the whole reward. Ten calm minutes of work bought it.
Frequently Asked Questions
How do I tighten a toilet seat with hidden fixings?
Press the release buttons and lift the seat off. Lift the cover caps to expose the fixing screws. Tighten each screw firmly with a Phillips screwdriver. Clip the seat back on, centre it flat, and check both fixings once more before finishing.
Why does my toilet seat keep moving side to side?
Extra play around the bolt holes causes most sliding. The bolts feel tight, yet the seat still creeps. Rubber washers or a fixing kit fill that gap. Worn or cracked bolts cause the same symptom, so replace tired fixings instead of retightening them.
Can I overtighten a toilet seat?
Yes, and damage happens faster than people expect. Plastic bolts strip their threads or snap clean through. Steel bolts can crack the porcelain around the holes, so stop when each fixing feels snug. Hand tools give better control than any drill.
How often should toilet seat fixings be checked?
Check the fixings again a day or two later. Parts settle slightly once the seat carries weight. After that, twice a year suits most homes. A quick tighten then keeps the seat solid, and soft-close seats like the same routine.
What tools do I need to fix a wobbly toilet seat?
A flathead and a Phillips screwdriver cover most seats, while pliers hold a spinning nut still. Gloves and an old cloth keep the job clean throughout. A ratchet with a deep socket helps with nuts underneath the pan. Most homes already own everything on that short list.
When should I replace rather than tighten a toilet seat?
Replace the seat when hinges crack or plastic warps, because tightening cannot save split fixing points. Deep staining that cleaning never shifts also justifies a fresh seat. Measure the pan shape and hinge spacing before you buy anything. A correct fit matters far more than the finish.