The fastest way to move pictures is simpler than most people expect. A USB cable does the heavy lifting here. It shows how to transfer photos from phone to computer in a few minutes. Wireless routes through iCloud or Google Photos work well too.
This guide covers Android and iPhone, plus Windows and Mac computers. Each method uses tools already built into your devices. Nothing here needs paid software or a repair shop. Learning how to transfer photos from phone to computer takes ten minutes.
These steps sit inside our wider Tech guides. Start with the pillar guide on becoming a tech founder. That route shows how everyday skills grow into bigger projects. Small jobs like this one build real confidence with technology.
The Quick Answer: Four Ways to Move Your Photos
Four methods cover almost every phone and computer pairing. A cable import suits big libraries and patchy Wi-Fi. Cloud sync suits smaller batches and automatic backups.
- Cable import: the quickest route for hundreds of photos.
- Cloud download: simple when photos already sit in iCloud or Google Photos.
- AirDrop: the fastest hop from an iPhone to a Mac.
- Quick Share: sends Android photos to a Windows PC nearby.
Pick the method that matches your phone and computer below. Every route ends with the same safety checks. Those checks protect your only copies of family photos.
What You Need Before You Start
A few small checks prevent most failed transfers. They take two minutes at most. Skipping them causes the classic empty folder problem.
- A USB cable that carries data, not a charge-only lead.
- The phone unlocked, with its screen awake.
- Enough free space on the computer for the library.
- Your phone passcode, ready for any trust prompt.
Charge-only cables are a common trap at home. They power the phone but move no files at all. Our guide to fixing a phone that won’t charge explains cable faults in more depth.
Transfer Photos From an Android Phone by Cable
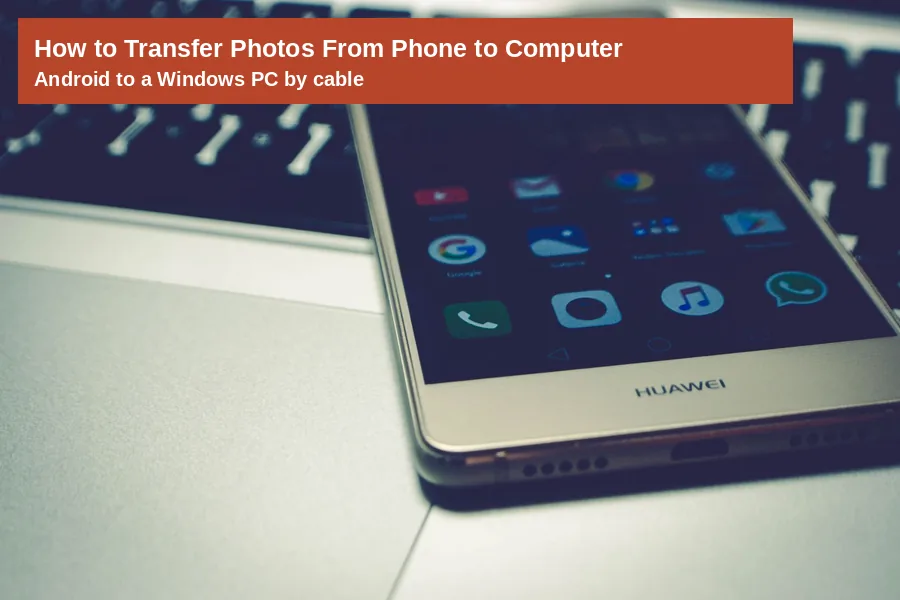
On Windows, the Photos app imports Android pictures in a few clicks. On the phone, one setting decides whether files can move. Set it once, and later transfers feel routine.
- Unlock the phone and connect it to the PC.
- Tap the “Charging this device via USB” notification.
- Under “Use USB for”, choose File Transfer.
- Open the Photos app on the PC.
- Choose Import, then pick the connected device.
- Select the photos and the folder for saving.
- Wait for the import to finish completely.
- Eject the phone from Windows before unplugging.
Your camera pictures sit inside the DCIM folder. That is where the Photos app looks first. Dragging files in File Explorer also works for single folders. Microsoft covers the same import in its support guide for the Photos app. That covers how to transfer photos from phone to computer from any Android handset.
Transfer Photos From an iPhone to a Windows PC
Plenty of readers ask how to transfer photos from phone to computer with an iPhone. Windows needs the Apple Devices app before an iPhone import works. It is a free download from the Microsoft Store. Install it once, before the first transfer.
- Install the Apple Devices app from the Microsoft Store.
- Connect the iPhone with its USB cable.
- Unlock the iPhone and tap Trust if asked.
- Launch the Photos app on the PC.
- Choose Import and select the iPhone.
- Pick the photos, then start the import.
Photos stored only in iCloud cannot download from the phone itself. Download the full size originals to the iPhone first. Apple gives the full route on its support pages.
Transfer Photos to a Mac With a Cable
A Mac imports from an iPhone through its own Photos app. The phone appears in the sidebar after unlocking. You then choose an album and import.
- Connect the iPhone and unlock it.
- Tap Trust or Allow if a prompt appears.
- Open Photos and select the iPhone.
- Choose an album for the new pictures.
- Click Import Selected, or Import All New Items.
Android phones need one extra thought on a Mac. Set the USB mode to Transfer photos, called PTP. Image Capture may then copy pictures into a folder.
The Fastest Route for Your Setup
- Android to Windows: cable plus the Photos app import.
- iPhone to Windows: Apple Devices app, then Photos import.
- iPhone to Mac: cable, Photos app, Import All New Items.
- Android to Mac: PTP mode with Image Capture, or Google Photos.
- No cable handy: download from iCloud or Google Photos instead.
Move Photos Without a Cable
Cloud libraries move photos while you make tea. The computer simply downloads what the phone uploaded earlier. Speed depends on your broadband and library size. Plenty of readers transfer photos from phone to computer this way every week.
- iCloud Photos: sign in on the computer and download originals.
- Google Photos: open the site, select photos, choose Download.
- AirDrop: sends single photos quickly to a nearby Mac.
- Quick Share: moves Android photos to a Windows PC.
- Phone Link: shows recent photos, but imports no videos.
Phone Link suits a quick look at recent shots. Microsoft says it does not import videos at all. For full libraries, cloud downloads stay the safer route.
Keep the Full Quality of Every Photo
Cable imports copy the original file, byte for byte. Cloud downloads also keep originals when settings allow. Trouble starts with quick shares through messaging apps.
iPhones save new photos in HEIC format by default. Windows may ask for an extra extension to open them. Three settings give you control over the format.
- Transfer to Mac or PC: Automatic converts during copying.
- Keep Originals: copies the HEIC file unchanged.
- Most Compatible: new photos save as JPEG instead.
Emailing photos to yourself shrinks them quietly. Messaging apps compress pictures to save data. Always move treasured photos by cable, cloud or AirDrop.
Check the Copies Before You Delete Anything
Never delete from the phone straight after a transfer. Check the computer copies first, every single time. Two quick checks catch almost every problem.
- Compare the photo count on both devices.
- Open several photos at full size.
- Play one video from start to finish.
- Check the newest and oldest photos too.
Happy with the copies? Then protect them properly. Our guide to backing up your computer shows simple backup habits. That is how to transfer photos from phone to computer without risking one precious shot.
When the Computer Cannot See Your Phone
An invisible phone usually has a simple cause. Work through these fixes in order. Most transfers succeed after the first two.
- Unlock the phone and keep the screen awake.
- Swap the cable, since some leads only charge.
- Set Android USB mode to File Transfer.
- Restart the phone and the computer.
- Accept the Trust prompt on an iPhone.
- Check whether photos exist only in iCloud.
Still stuck? Try a different USB socket on the computer. Google suggests testing the phone with another computer too. A borrowed laptop quickly shows which side fails.
Photos Safe, Phone Ready for More
You now know how to transfer photos from phone to computer four ways. Cable imports suit the big annual clear-out. Cloud routes suit steady, automatic tidying.
More help waits in our Tech archive, from laptop fixes to storage clean-ups. Pick one small job each month. Your photo library will stay safe and sorted.
Frequently Asked Questions
Why does my computer not recognise my phone?
The phone is usually locked, or the cable only carries charge. Unlock the phone and keep its screen awake during the transfer. On Android, open the USB notification and choose File Transfer. On iPhone, tap Trust when the prompt appears.
Do photos lose quality when I transfer them?
Cable imports copy the original file exactly, so quality stays perfect. Cloud downloads also keep full quality when original storage is on. Only quick shares through messaging apps shrink photos. Email can compress them too, so avoid both for treasured pictures.
Where do Android photos live on the phone?
Camera photos sit in the DCIM folder, usually inside a Camera subfolder. The Windows Photos app reads that folder during an import. File Explorer shows the same folder when you browse the phone manually. Screenshots may sit in a separate Pictures folder.
Can I move iPhone photos to a Windows PC?
Yes, and the route is simpler than most people expect. Install the free Apple Devices app from the Microsoft Store first. Then connect the iPhone, unlock it, and import through the Windows Photos app. Tap Trust if the phone asks.
Should I delete phone photos after copying them?
Only delete after the computer copies pass your checks. Compare the counts, open a few photos at full size, and play one video. Then keep a backup of the computer folder as well. Two copies in two places is the safe standard.