
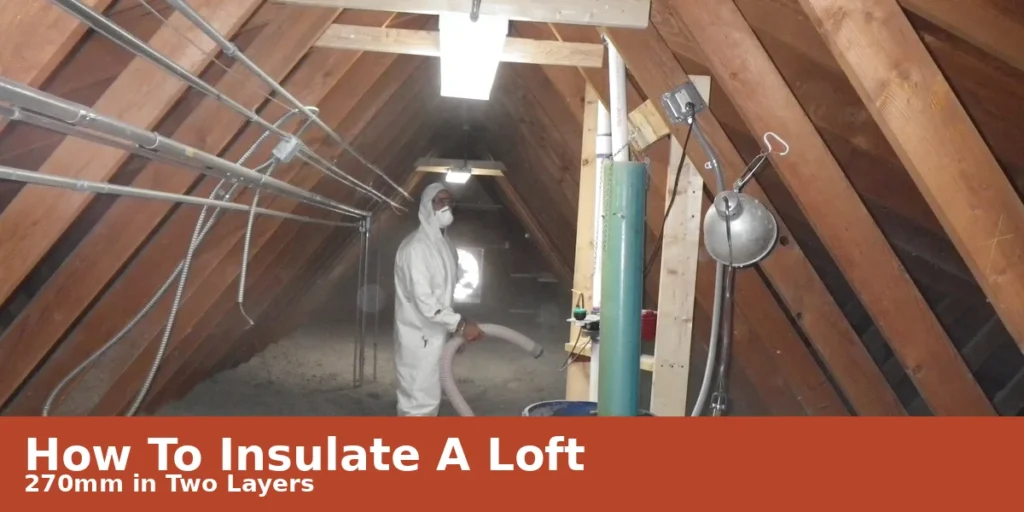
To insulate a loft, lay 270mm of mineral wool in two layers. Put 100mm between the ceiling joists, then 170mm across the top at right angles. Leave a 25mm gap at the eaves, insulate the hatch, lift cables above the insulation, and lag pipes and tanks.
That is the whole job in short. The rest of this guide shows you how to insulate a loft step by step, without the mistakes that waste the effort.
A cold loft is easy to ignore. You only climb up there twice a year. But an uninsulated roof lets about a quarter of your home’s heat escape, according to the Energy Saving Trust, so the rooms below work harder all winter.
At a Glance
- The short version of how to insulate a loft: aim for 270mm of mineral wool in total, 100mm between the joists and 170mm across them.
- Keep a 25mm gap at the eaves so air can still move.
- Insulate the hatch and draught-proof its frame.
- Lift cables above the insulation and lag pipes and tanks.
- Check for damp, leaks and bats first.
Why 270mm Is the Number to Aim For
270mm is the depth current UK guidance recommends for mineral wool loft insulation, and it is the depth the Energy Saving Trust uses for its savings figures. Most older lofts hold far less, often around 100mm.
With only 100mm in place, heat still slips through the roof all winter, and your boiler runs longer to replace it.
The Energy Saving Trust puts the saving for a semi-detached, gas-heated home at about £190 a year for an empty loft taken to 270mm. Topping up from 120mm saves about £17 a year. Both figures use July 2026 prices in Great Britain.
Loft insulation also lasts around 40 years if it is installed right and kept dry. If the old layer is dry and sound, lay the new layer straight on top; only damp or damaged insulation needs to come out first.
Which Loft Insulation Material Suits Your Home
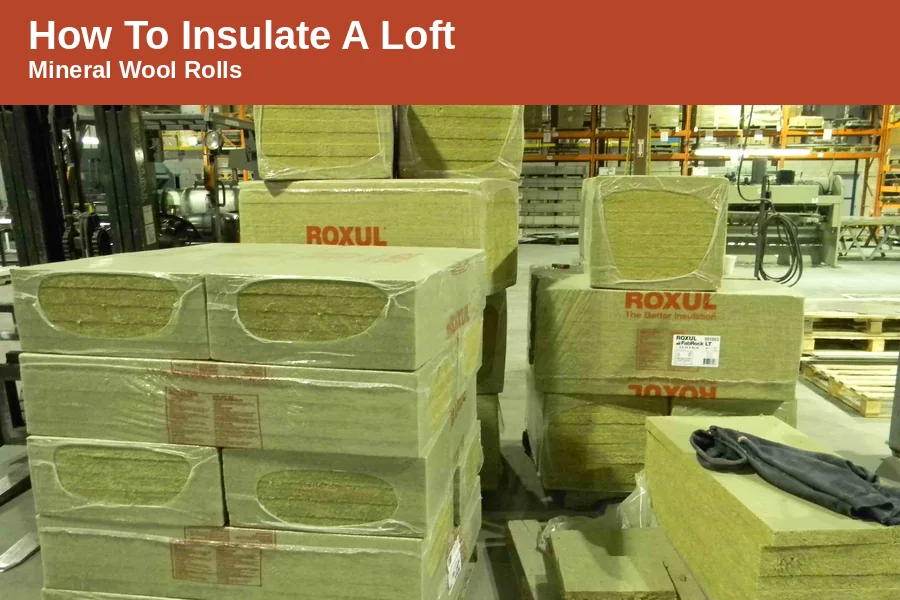
Mineral wool rolls suit most UK lofts best: cheap, easy to cut, and simple for a DIYer to lay. Rigid boards win where headroom is tight, and loose-fill suits awkward gaps.
| Material | Best for | Watch out for |
|---|---|---|
| Mineral wool rolls | Most lofts, DIY fitting | Itchy fibres: wear gloves, goggles and a mask |
| Loose-fill | Topping up and awkward corners | Needs an even spread |
| Rigid PIR boards | Conversions, tight headroom | Joints must be sealed and taped |
| Blown fibre | Hard-to-reach areas | Needs specialist equipment |
| Natural fibres (sheep wool, hemp, cellulose) | Breathable builds | Costs more |
Rolls are the default for a cold loft floor, and the usual pick when you learn how to insulate a loft. To compare materials, check the R-value, k-value and U-value figures on the packaging.
Check Your Loft Before You Buy Anything
Measure the floor, check what depth you already have, and look for damp, leaks, dodgy wiring and bats before you spend a penny.
Start with a torch and a tape measure. Measure the loft floor, then take off roughly 10%, because insulation sits between the joists rather than covering every inch. Joist spacings are most often 400mm or 600mm, so buy rolls to match, and measure the depth you already have.
While you are up there, look for trouble:
- Damp patches or signs of a leak. Fix the leak first.
- Recessed lights, especially old halogen ones. Fit guards or swap them for LEDs first.
- Cables where the new layer will sit. Note where they run.
- Bats or nesting birds. Bats are protected by law, so contact the Bat Conservation Trust before you disturb a roost.
- The hatch. Check it is wide enough for a roll, and that your ladder is safe.
Gather your kit before the first roll goes up:
- Rolls of mineral wool in the right width and depth
- Walk boards to kneel on
- A tape measure and a long knife or scissors
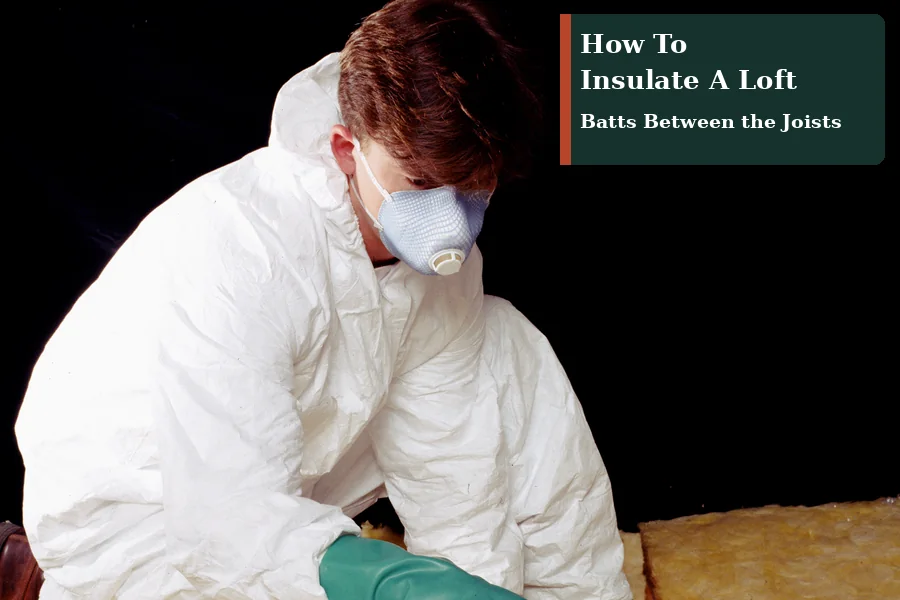
- Goggles, an FFP2 dust mask, gloves and overalls
- Draught strips, foam pipe lagging and a tank jacket
From Bare Joists to a Warm Loft in Six Steps
This is how to insulate a loft without leaving the gaps that waste the effort. Start at the corner furthest from the hatch and work towards it.
- Clear the floor. Move stored items aside and lift boards where the new layer will go. Vacuum dust from between the joists. Rot or serious damage is a job for a professional first.
- Lift the cables. Lay them on top of the first layer, not underneath it, so they can shed heat. This matters most for showers and immersion heaters. Ask an electrician about old wiring.
- Lay the first layer between the joists. Cut the roll to length and lay it flat and snug. Do not squash it: compressed insulation insulates worse. Butt the ends tight together.
- Lay the second layer across the joists. It runs at right angles to the first and adds about 170mm, taking the total to 270mm. It covers the timber, which would otherwise leak heat as a cold bridge.
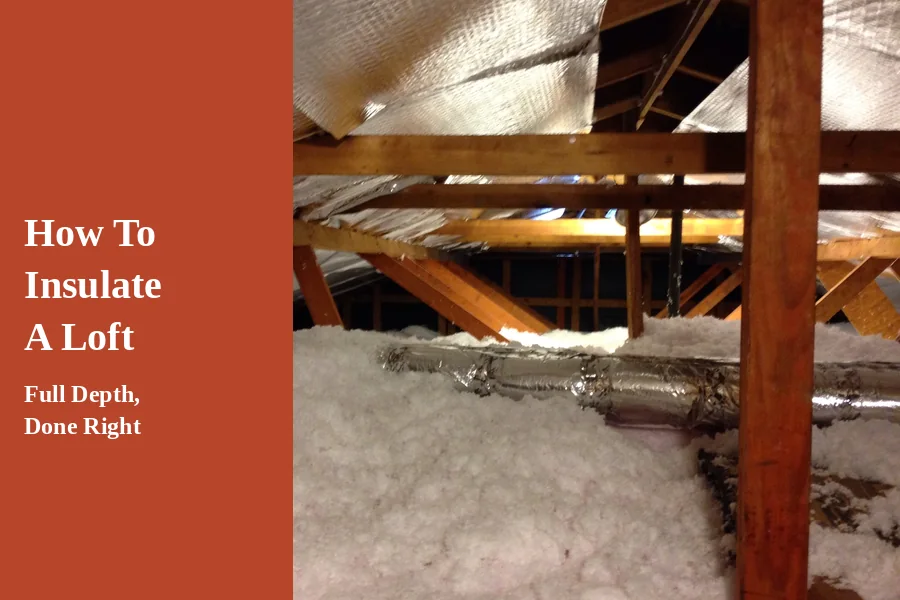
- Keep the eaves clear. Leave at least a 25mm gap around the edge of the loft so air can move from the soffit vents in, and leave a gap around the boiler flue too. Fit eaves vent trays if your loft has none.
- Finish the hatch, pipes and tanks. Insulate the back of the hatch with polythene-wrapped insulation, then draught-proof the frame. Lag the pipes and jacket any cold water tank, but never insulate under the tank.
The Energy Saving Trust guide to insulating a loft covers the same method in its own step-by-step.
Keep Air Moving, or Condensation Will Follow
Yes, a loft still needs air after insulation. Once heat stops rising into it, the loft turns colder, and cold air holds less moisture, so damp air can condense on the roof timbers. Once you know how to insulate a loft, the next lesson is what not to block.
Warm, moist air rises from the rooms below all day, and it needs a way out. If insulation covers the vents, that air settles as condensation on the coldest surfaces, and over time the damp can rot timbers.
Never cover air vents or air bricks when you lay insulation, and check the loft through the first winter for damp patches or a musty smell. The same damp air that leaves condensation on windows can settle in a cold loft. Left alone, that damp can turn into mould on the walls below.
Six Mistakes That Undo Good Loft Insulation
Most guides on how to insulate a loft stop once the rolls are down. These six mistakes cause most of the trouble after that.
- Squashing it under boards or boxes. Insulation traps air in its fibres, and boards straight on top crush those pockets. Raise boards on loft legs above the full 270mm.
- Pushing it into the eaves. A blocked eave stops air moving and invites condensation. Leave the 25mm gap.
- Burying cables. Cables under thick insulation can overheat. Lift them above the layer.
- Forgetting the hatch. An uninsulated hatch leaks heat like a small open window. Insulate its back and seal its frame.
- Skipping the pipe lagging. The loft turns colder once the floor is insulated, so pipes can freeze in winter. Lag them before you close up.
- Spraying foam without advice. Spray foam can trap moisture, hide the timbers and put off mortgage lenders. Only use it with professional advice.
Do It Yourself or Hire Someone?
Deciding how to insulate a loft yourself or hire help comes down to the loft. A dry, easy-access loft floor is a fair DIY job. A conversion, damp, asbestos or awkward wiring is a job for a pro.
A straightforward DIY job often takes a weekend, according to Checkatrade, while a professional crew often finishes in a day. If you would rather hire it out, the Energy Saving Trust puts a professional install for a semi-detached home at about £750 for an empty loft taken to 270mm. Topping up from 120mm costs about £600. Both figures use July 2026 prices in Great Britain. Get an itemised quote first.
Help exists for some households: the ECO4 scheme runs until 31 December 2026 for eligible households, so check the current criteria before you spend. A loft conversion is different: it must meet the Building Regulations, with the roof typically designed to reach around 0.18 W/m2K under Approved Document L.
Your Loft, Done Right, Before the Cold Sets In
Now you know how to insulate a loft to 270mm, keep the eaves clear and finish the small details that most people skip. Start with the tape measure, not the till: check what you already have, buy only what you need, and pick a dry weekend. Once the loft holds its heat, bleed a radiator that gurgles or stays cold at the top, then browse the KeyJournal Home Improvement guides for your next winter job.
Loft Insulation Questions, Answered
These are the questions readers ask most about how to insulate a loft.
How thick should loft insulation be?
For mineral wool, aim for 270mm in total: 100mm between the ceiling joists and 170mm across the top. That is the depth current UK guidance recommends. Other materials need different depths.
Can I insulate over my old loft insulation?
Yes, in most cases. If the old layer is dry and sound, lay the new layer straight on top at right angles and bring the total to 270mm. Remove it first if it is damp or damaged, or if it may contain asbestos.
Does loft insulation cause damp?
No, properly installed insulation with clear ventilation should not cause damp. Problems start when vents or eaves get blocked during the work. Keep the eaves clear and check the loft through the first winter.
How long does it take to insulate a loft?
A straightforward DIY job often takes a weekend of steady work, according to Checkatrade. A professional crew can often finish in a single day. Awkward access or repairs will take longer.
Can I board over loft insulation?
Yes, but only on a raised platform. Boards laid straight onto the joists squash the insulation. Raise the boards on loft legs so the full 270mm stays untouched, and check the joists can carry the load.
Is spray foam insulation a good idea for a loft?
It can be a poor choice for a roof. Spray foam may trap moisture against the timbers, make the roof hard to inspect, and cause problems with mortgage lenders. Always take professional advice before using it.